Haag Streit LENSTAR® - Operation

Tonometry
Click on images to enlarge for better viewing.
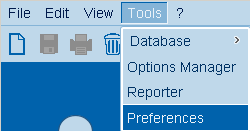
Tonometry Preferences
Tools -> Preferences
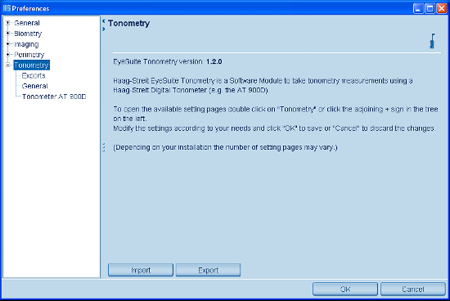
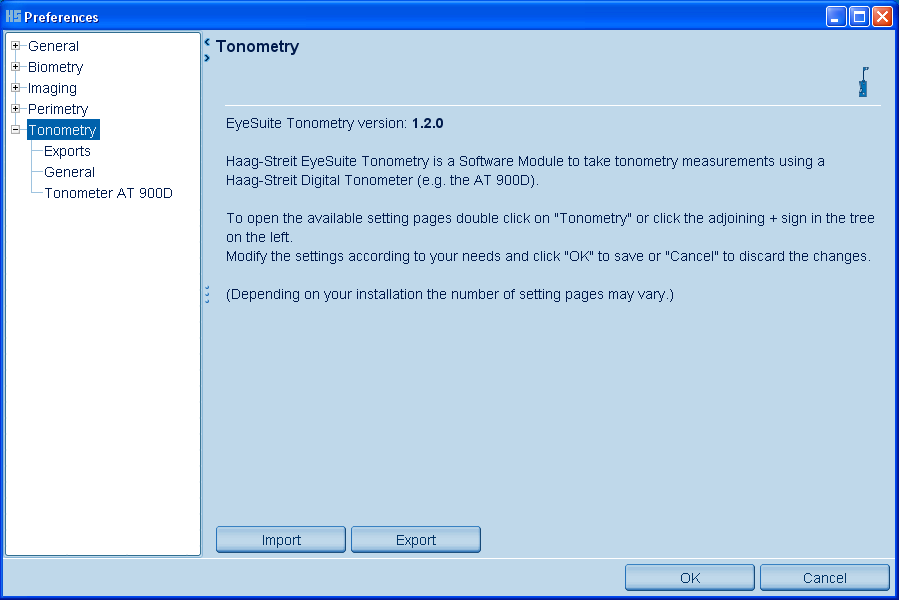
Preferences: Program Information
Tools -> Preferences -> Tonometry
Preferences: Exports
Tools -> Preferences -> Tonometry -> Exports
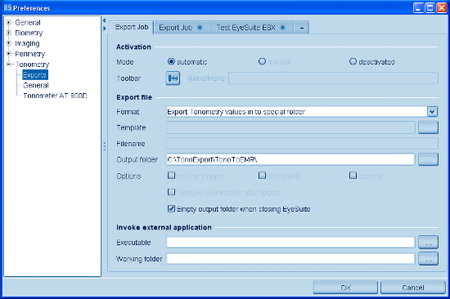

To create your own export button icon in the toolbar:
- click on "manual" mode
- click on the "toolbar export button" and follow the screen.
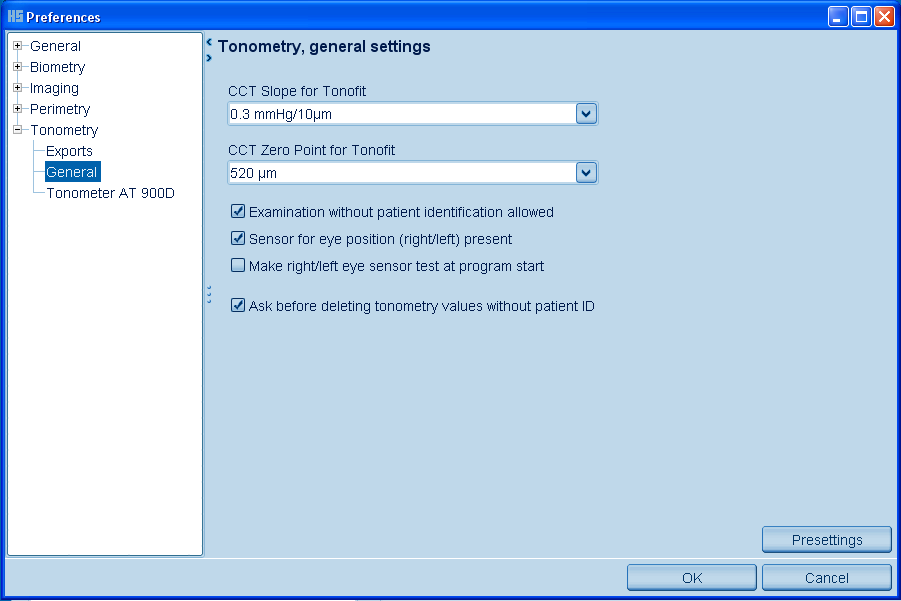
Preferences: General Settings
Tools -> Preferences -> Tonometry -> General

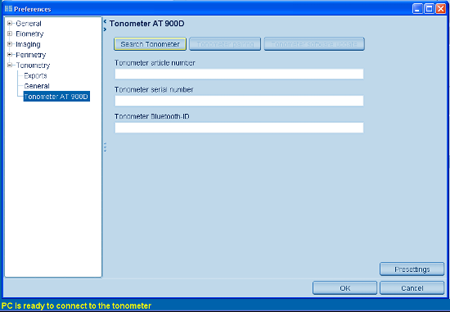
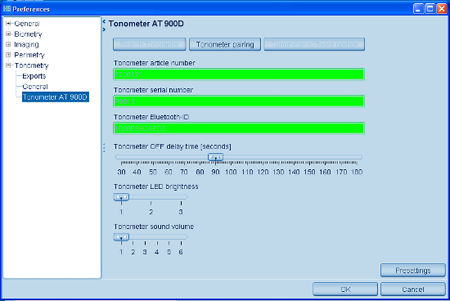
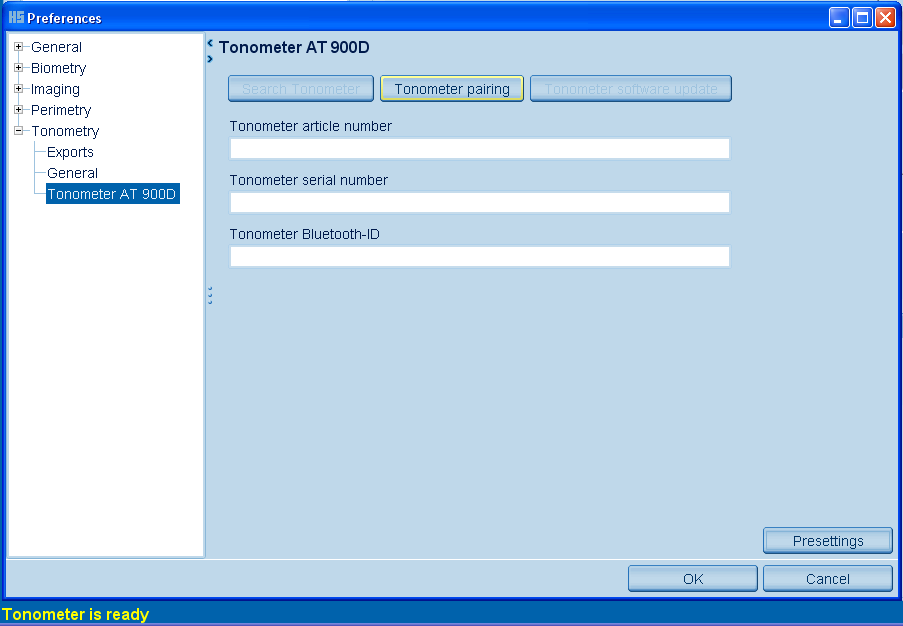
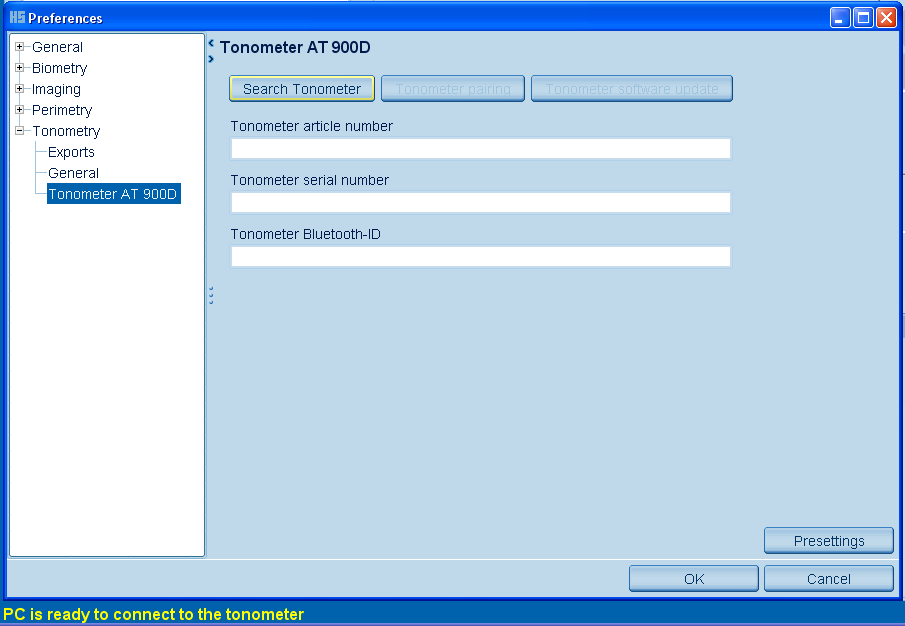
Preferences: Tonometer AT 900 D
Tools -> Preferences -> Tonometry -> Tonometer AT 900 D

Pairing Tonometer with USB-Stick
- Plug the USB-Stick to the computer or laptop
- Open EyeSuite
- Switch the Tonometer AT 900 D on and activate the bluetooth connection (bon)
- Select "Tonometer AT 900 D" in the preferences "Tonometry"
- Click on "Search Tonometer"
- Click on "Tonometer pairing"
- Press "OK"
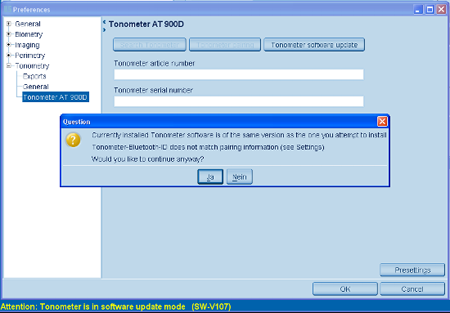
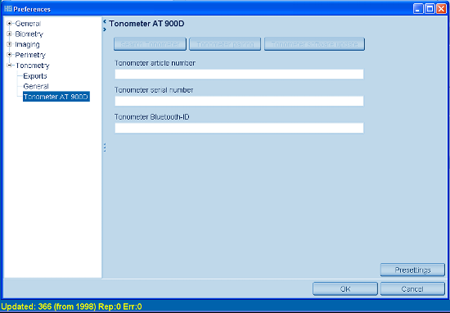
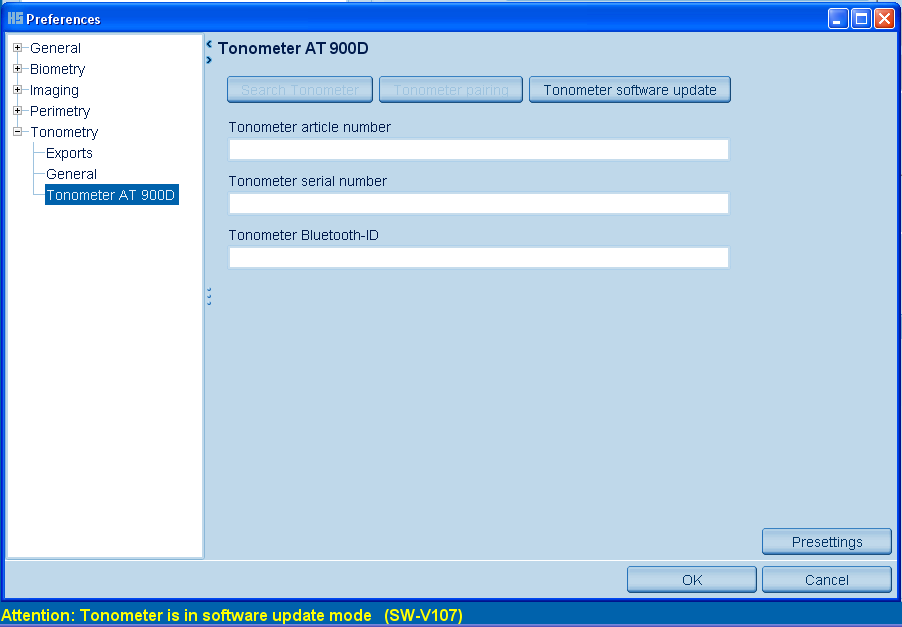
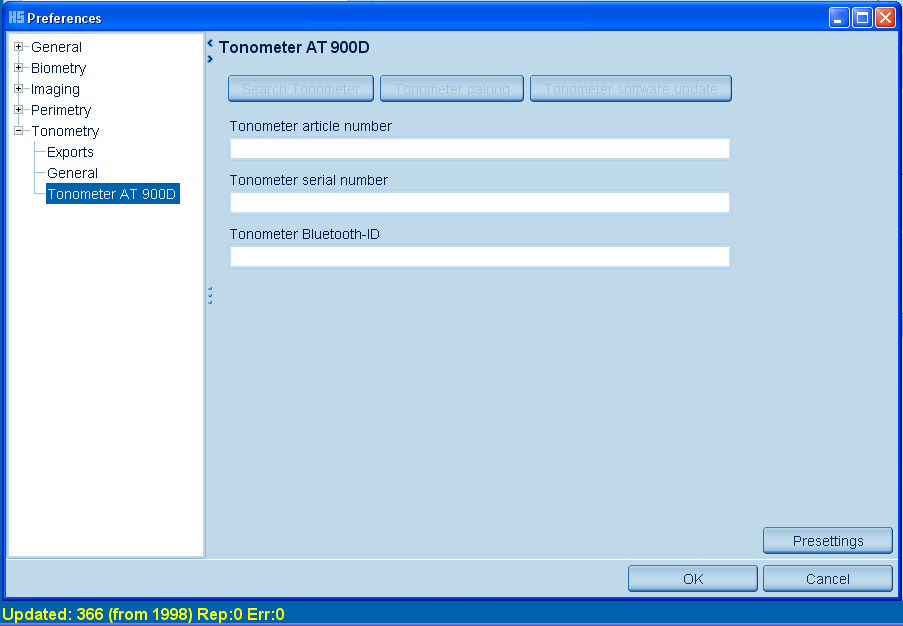
Update Software Tonometer

Tonometry Toolbars
Capture Mode

- Print using the current printer settings
- Delete (not applicable)
- Capture tonometry value
- Graphical display right eye
- Graphical display left eye
- Tonometer left/right eye check
- Switch Tonometer OFF
- Remaining time to tonometer auto off
- Battery empty symbol (appears only when battery is soon empty)
- End of examination
Viewing Mode

- New (not applicable)
- Safe (not applicable)
- Print using the current printer setting
- Delete (not applicable)
- Show single examination view
- Perimetry (only)
- Perimetry (only)
- Perimetry (only)
- Perimetry (only)
- Graphical display right eye
- Graphical display left eye
Short Guide
Capture Tonometry Values without Patient ID
- Open EyeSuite
- Click on the Tonometry button on the left side. The capture screen opens automatically.
- Get the tonometer to the patient eye and start the measurement.
- Click on the "Capture tonometry value" button in the toolbar to save the value.
- Repeat the measurement with the other eye.
- To close the examination, click on the "End of examination" button in the toolbar.
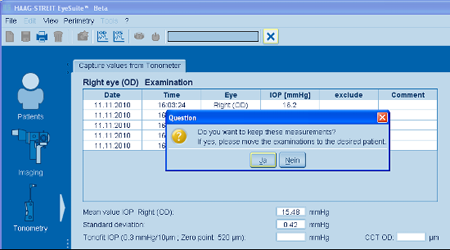
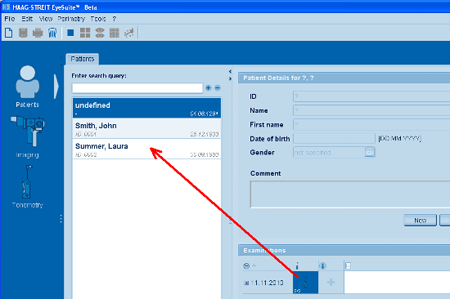
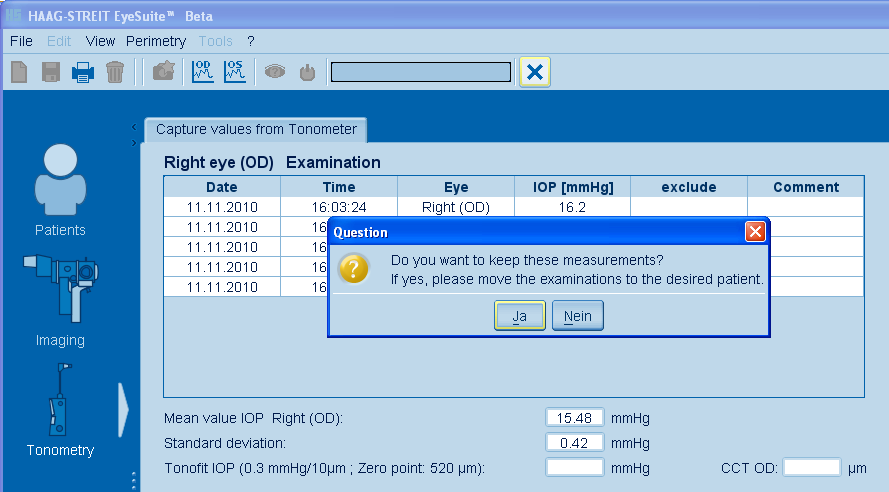
The examination will automatically be saved to an undefined patient.
To save the examination to an patient with ID, click on the small tonometer icon (Examinations) and move the icon to the desired patient.
Capture Tonometry Values with Patient ID
- Open EyeSuite
- Select the patient.
- Click on the Tonometry button on the left side. The capture screen opens automatically.
- Get the tonometer to the patient eye and start the measurement.
- Click on the "Capture tonometry value" button in the toolbar to save the value.
- Repeat the measurement with the other eye.
- To close the examination, click on the "End of examination" button in the toolbar.
- The examination will automatically be saved to the selected patient.
Right(OD) / Left(OS) Assignment
Manual Assignment
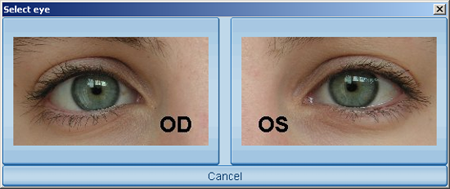
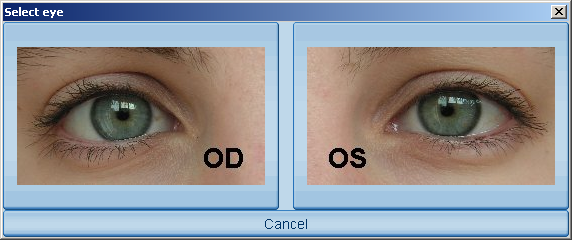
If the Tonometer AT 900 D is used without the magnetic device, there is no automatic assignment of the tonometry values to the right(OD) or left(OS) eye.
In this case, the assignment can be done manually at the time of capture using the "OD/OS" screen (opens automatically).
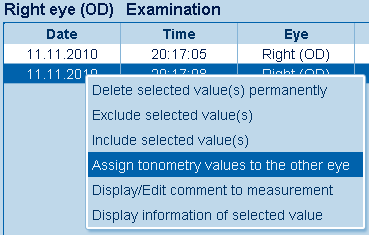
Manually assigned right or left values can only be corrected to the other eye in the current examination session.
Press right mouse button and follow "Assign tonometry values to the other eye".

For the manually assignment, the respective option in the general settings has to be disabled ("Sensor for eye position present").
Automatic Assignment
If the Tonometer AT 900 D is used with the magnetic device (has to be mounted under the chin rest), the tonometry values are automatically assigned to the right(OD) or left(OS) eye.
Automatically assigned right or left values can only be corrected to the other eye in the current examination session.
Press right mouse button and follow "Assign tonometry values to the other eye".
For the automatically assignment, the respective option in the general settings has to be enabled ("Sensor for eye position present").
Graphic Display
EyeSuite Tonometry offers you to display the measuring values graphically.
Viewing Mode
- Select the desired patient and examination. The values are displayed in the table (one session).
- Click on the "OD" (right eye) or "OS" (left eye) button in the toolbar.
The following graphic appears:
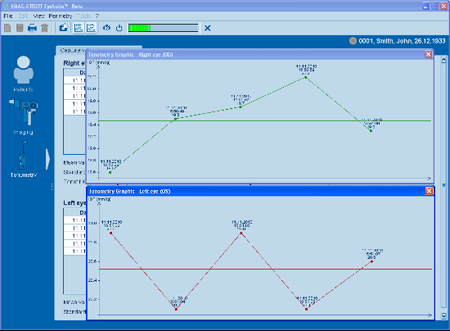
Each measuring point can be selected.
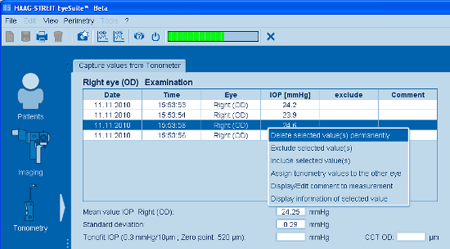
Capture Mode
During and after the measurement, the measured values are shown in the table.
- Click on the "OD" (right eye) or "OS" (left eye) button in the toolbar.
- Click with the right mouse button on any measuring point or move the mouse over several measuring points to select multiple values.
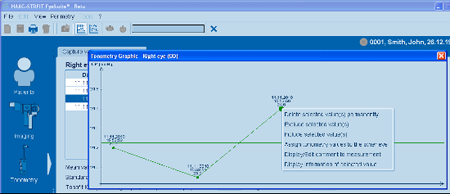
The measurement can be manipulated by including, excluding or assignment of individual measuring values,
Calculation
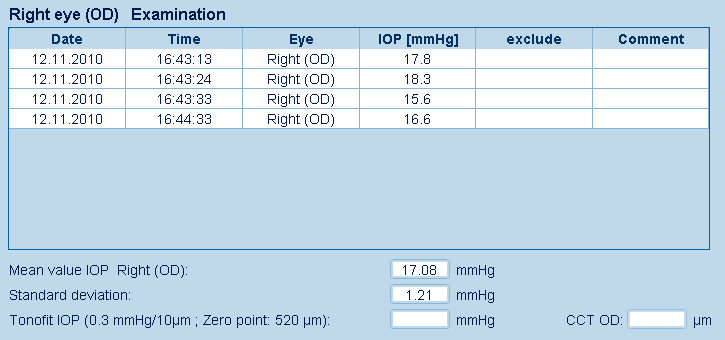
Mean Value IOP
The mean value IOP and the standard deviation of all measurements in the table is indicated below the table.
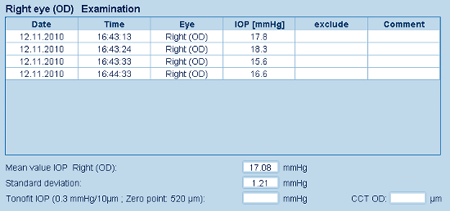
In the viewing mode (selecting Patient and Examination first), the mean value is only displayed if all measurements are from a single session.
CCT Correction
- The presetting for IOL calculation is CCT: 520nm and slope 0.3 mmHG/10ym (both values can be changed in the preferences)
- EyeSuite Tonometry offers you the opportunity to calculate the mean value IOP with different CCT (corneal thickness) values.
- The correction values of the corneal thickness (CCT) can be entered in the "CCT" field.
- The recalculated mean value IOP is displayed in the "Tonofit IOP" field.
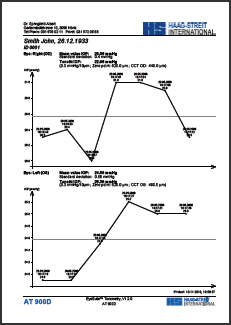
Example for the right eye(OD):

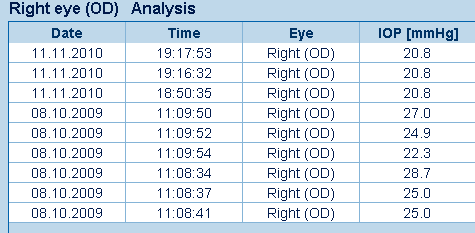
Compare Examinations
Up to two examinations of a patient with different dates can be compared.
- Select the patient.
- Select the two examinations by clicking on the small Tonometry icon while holding down the "Ctrl" key.
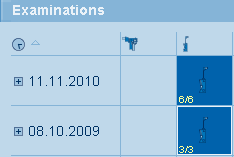
Click on the "Show single examination view" button in the toolbar.

The two examinations will be shown in the table and can also be displayed graphically.
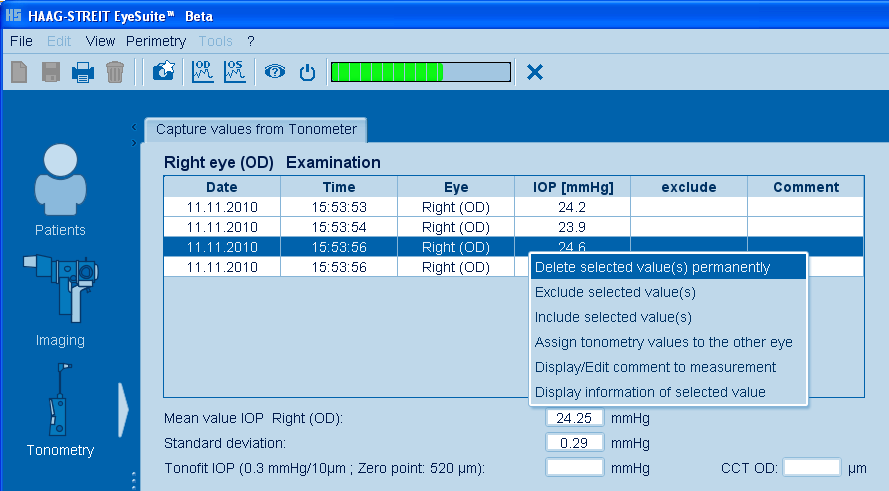
Delete Measurement
Single or multiple measuring values can only be deleted in the current examination session (during or after the measurement).
- Select one or multiple values.
- Use the right mouse button to open the screen and delete the data.
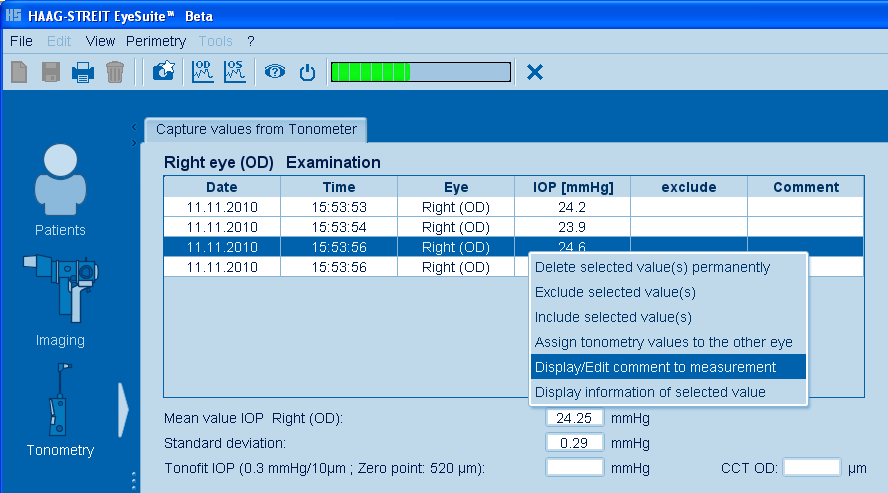
Edit Measurement
For each measurement, a comment can be typed in and displayed (only in capture mode).
- Select the measurement.
- Use the right mouse button to open the screen and follow "Display/Edit comment to measurement".

The comment will be displayed in the table.
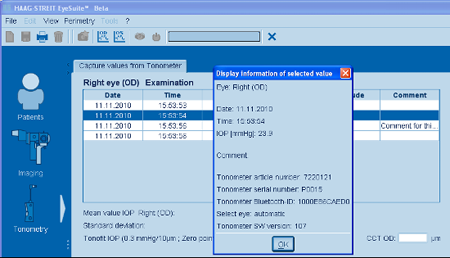
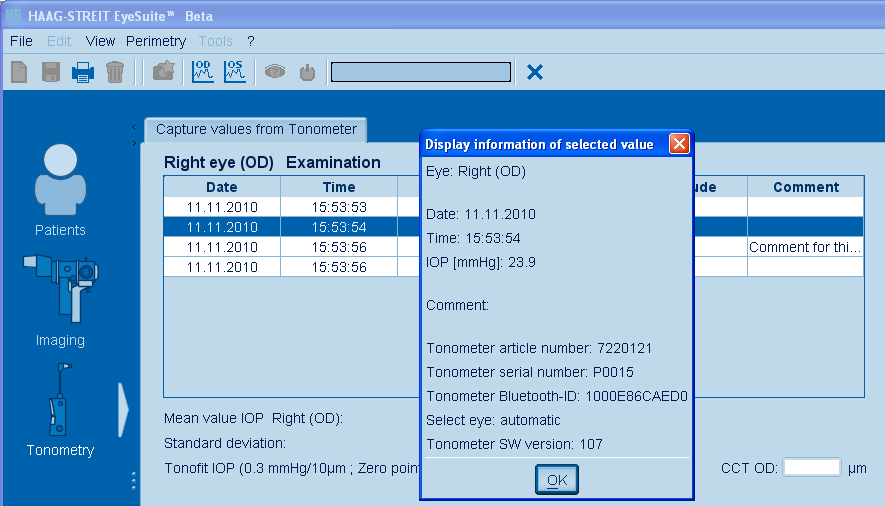
Display Value Information
For each measurement, information can be displayed.
- Select the measurement.
- Use the right mouse button to open the screen and follow "Display information on selected value".
The information appears as follows:
Printout
Click on the printer icon in the toolbar.
Printout Examples
|
